
What is CinemaP-1.9c Ads ? How to remove?
Has your computer ever got infected with CinemaP-1.9c ads ? Do you know what is it? It is classified as an adware and unwanted program as well. It will contribute several issues on your main browser and PC. However, CinemaP-1.9c Ads will releases a lot of pop-up advertisement, including coupons, banners, and other related online ads, which targets to lure you in shopping trap. What’s more, it will override the default settings of the infected browsers.
Thus it can be seen CinemaP-1.9c Ads is a corrupt application, you must be confused that how does it come to your computer. However, it automatically becomes available on your computer system right after you download and install certain program, which offered at no cost. It will be very harmful to your computer if you keep this application in your computer for a long time. If you want to have normal PC operation, you are welcome to click the below reference to remove it:
Similar video on how to remove CinemaP-1.9c Ads
How to Manually Uninstall CinemaP-1.9c Ads?
Tip 1. Delete CinemaP-1.9c Ads start page from Registry Editor
Click Start menu and type regedit in Search Programs and files box, then hit Enter to get Registry Editor window.
Search for Start Page with CinemaP-1.9c Ads, right click and delete it.
Computer\HKEY_CURRENT_USER\Software\Microsoft\Internet Explore\Main)

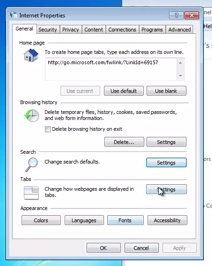
Tip 2. Reset your browser (e.g.IE)
Control Panel ->> Internet Options->> On the general tab
a) Click settings within the Search section
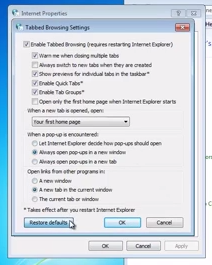
b) On general tab, click Settings within Tabs section,
Click Restore defaults and then click OK.
Tip 3. Restart your IE browser to check the effectiveness.
Method two: Automatically remove CinemaP-1.9c Ads Permanently with SpyHunter.
SpyHunter is a powerful, real-time anti-spyware application which is designed to assist the average computer user in protecting their PC from malicious computer threats and certified by West Coast Labs’ Checkmark Certification System. SpyHunter is automatically configured to give you optimal protection with limited interaction and can get along with other antivirus, so all you need to do is install it for immediate and ongoing protection.
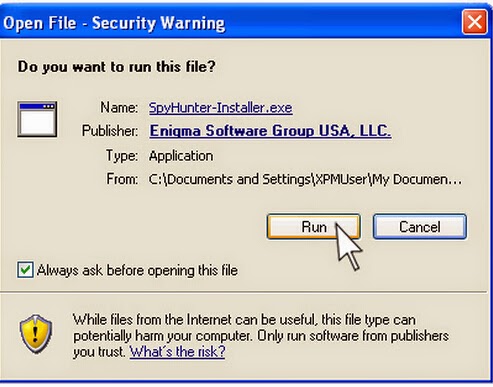
Step one: Download SpyHunter on your computer by clicking the icon below.
%25L_LE%7DDVPDY9I_IN%60J.jpg)
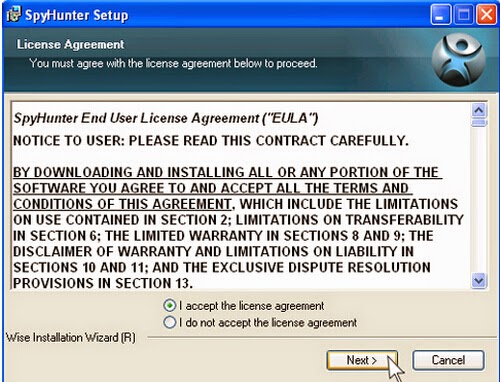
Step two: Follow the prompts to automatically install SpyHunter
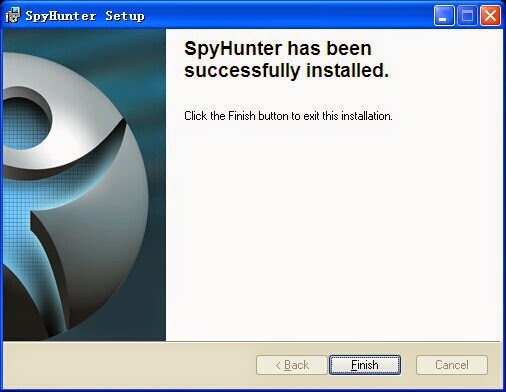
Step three: Please click Finish button once the installation completes.
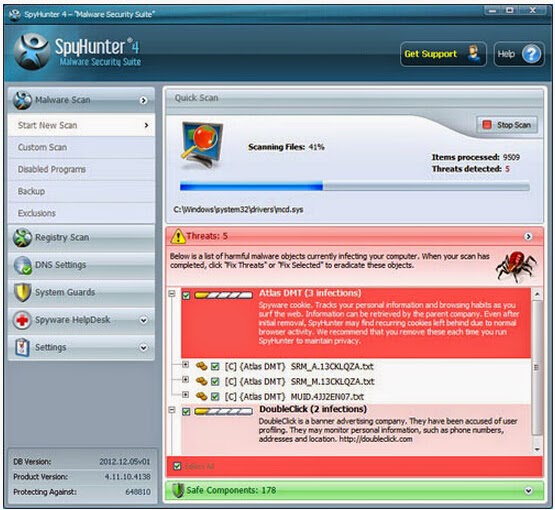
Note: SpyHunter will take some time to scan the computer, the time depends on the amount of the total files in your computer. The more files in your computer, the longer time will it take.
No comments:
Post a Comment