
Ads by Daugava are so annoying:
Recently, maybe we suffer from such a situation where there are many pop-up advertisements brought by Daugava. Various unwanted information makes us annoyed, doesn’t it? Daugava is an adware that intends to generate pay-per-click revenue. So if you install this program unwittingly, maybe you will encounter financial loss. Have you still been puzzled how to solve this nasty computer bug? Please read the article, I will help you eliminate Daugava completely. Now let's get more information about Daugava ads.
Daugava is a type of adware. Its purpose is to generate profits for other commercial websites or cybercriminals rather than to provide service for users. In general, Daugava make various pop-up windows maybe contain some discount information on your screen, and these ads contain many hyperlinks that lead you to some commercial website. All so the publishers of the adware can get reward from click rates.
On the other hand, Daugava is intrusive to our computer without our permission aimed to achieve publishers’ selfish purpose. I think it is an illegal behavior. So if your search engine often redirects you to wrong websites or pop-up window suggests you to install browser toolbars, optimization utilities, you should be vigilant whether your computer is invaded by Daugava.
Effective Daugava Removal Guide:
Method one: manually remove Daugava
Method two: completely delete Daugava with SpyHunter antivirus
Method one: manually remove Daugava
Step one: End all the running processes of Daugava.
1.Open task manager by clicking Alt+Ctrl+Del keys together.
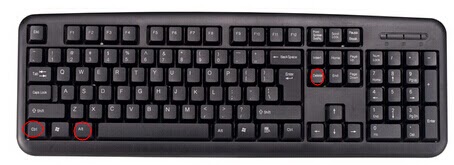
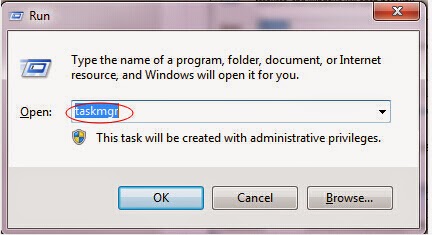
Another way is to press the Start button and choose the Run option, and then type taskmgr and press OK.
N%5D%5DE%5B2SW207G%5D9F.jpg)
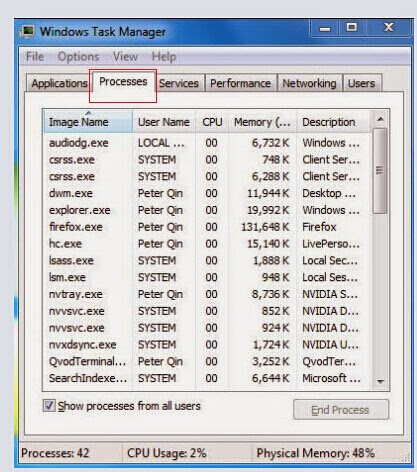
2. Stop all the nasty running processes of Daugava.
%7D0%5DE%25XHC2JX.jpg)
Step two: Show all hidden files and clean all the harmful files about Daugava
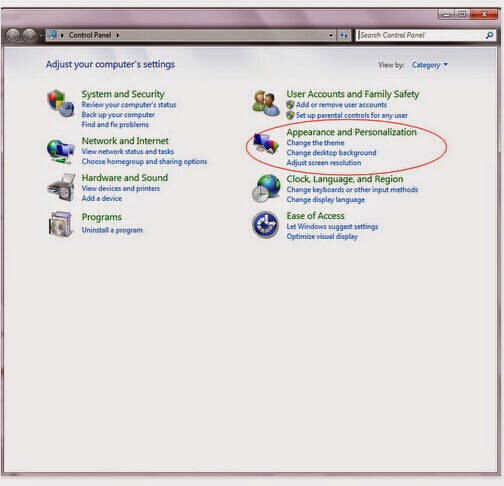
1.Click the Start button and choose Control Panel, clicking Appearance and Personalization, to find Folder Options then click on it twice.
%60H0S%60A)TWZ2.jpg)
2.In the pop-up dialog box, click the View tab and unfold Hide protected operating system files (Recommended).
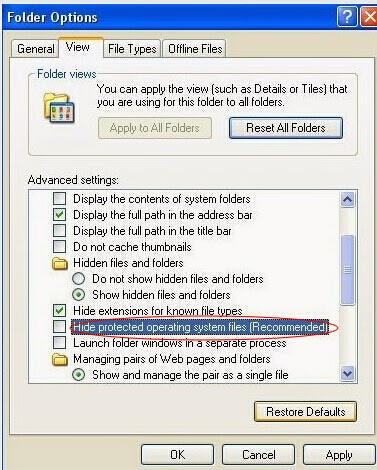SFO%25N5(F77H3X.jpg)
3. Clean all the malicious files about Daugava
%AllUsersProfile%\{random.exe\
%AllUsersProfile%\Application Data\
%AllUsersProfile%\random.exe
%AppData%\Roaming\Microsoft\Windows\Templates\random.exe
%Temp%\random.exe
%AllUsersProfile%\Application Data\random
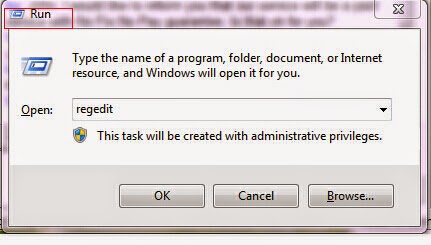
Step three: Remove all the registry entries by using the following processes.
1.Open Registry Editor by clicking Windows+R keys together.
Another way is to click on the Start button and choose Run option, and then type regedit and press Enter.
85QCGNDCMNQQL%5B%7DE12M%5D62.jpg)
2. Figure out all harmful registry entries as follows and delete them:
HKCU\Software\Microsoft\Windows\CurrentVersion\Internet Settings\randomHKEY_LOCAL_MACHINE\SOFTWARE\Microsoft\Windows\CurrentVersion\run\random HKCU\SOFTWARE\Microsoft\Windows\CurrentVersion\Run \Regedit32HKEY_LOCAL_MACHINE\SOFTWARE\Microsoft\Windows\CurrentVersion\run\random
Step four: Remove add-ons and extensions added by Daugava from your web browsers.
1. Google Chrome:
(1) Click the Customize and Control menu button----Tools----click Extensions.
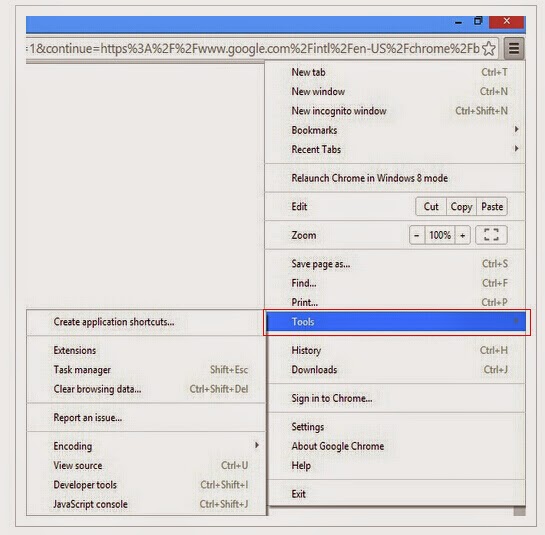
(2) Select all extensions caused by Daugava, and then click (
 )
)
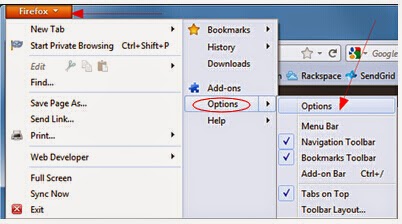
2. Firefox:
(1) Open Mozilla Firefox.
(2) Click the Firefox menu, click Options, and then click Privacy.
(3) Under the Privacy tab, click on Remove Individual Cookies link.
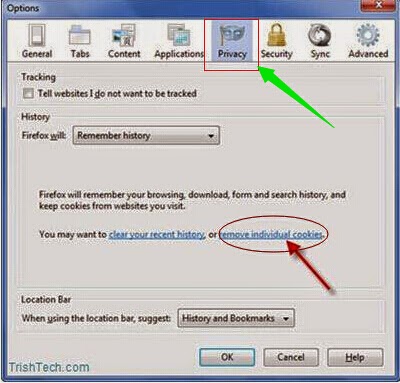
(4) In the Cookies showing box, eliminate all the cookies created by Daugava
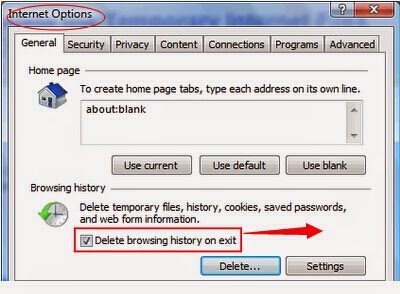
3. Internet Explorer:
(1) Make sure yourself at the Internet Options window.
(2) Click on the General tab.
(3) Check Delete Browsing History On Exit option, and click the Delete button.
Method two: automatically delete Daugava with SpyHunter antivirus
Step one: Download SpyHunter by clicking the button below:

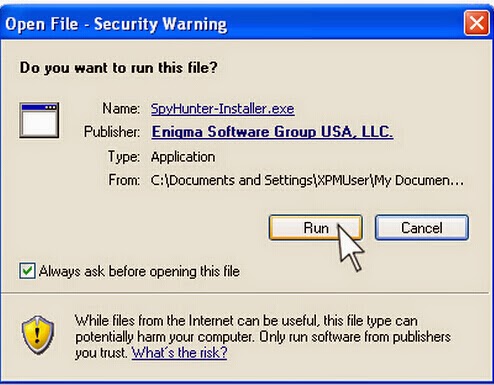
Step two: Click on Download, and then follow the installation process of SpyHunter step by step.
1. In the showing box, click Run.
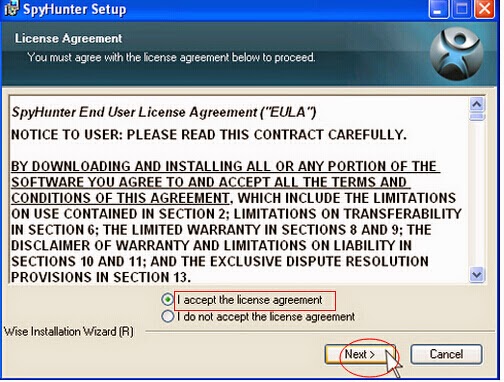
2. Click: I accept the license agreement, and then press Next.

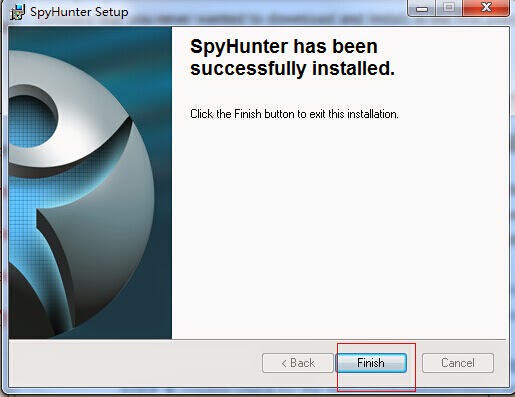
4. Click Finish.
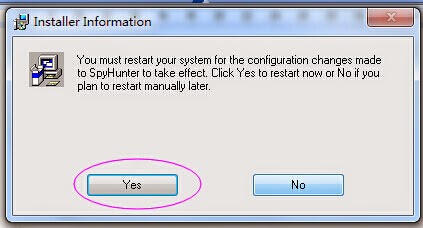
5. After installation, you can click Yes to restart your computer to make SpyHunter effect, or press No, if you’d like to restart it later manually.
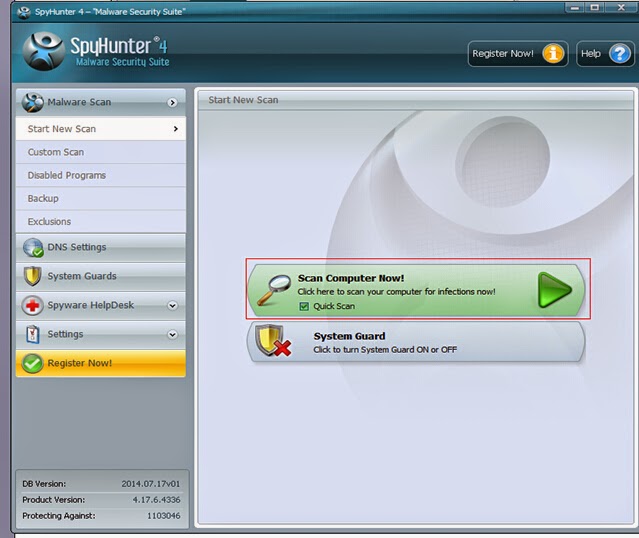
Step three:scan and delete every threats caused by Daugava.
1. To do a full scanning with SpyHunter to find out every threats in your computer.
2. After that, you need to select every detected threats about Daugava and remove them all.
If you have spent too much time in manual removing Daugava and still not make any progress, you’d better stop and choose the automatic removal method - download and install Spyhunter here to remove Daugava for you immediately and completely.
No comments:
Post a Comment